
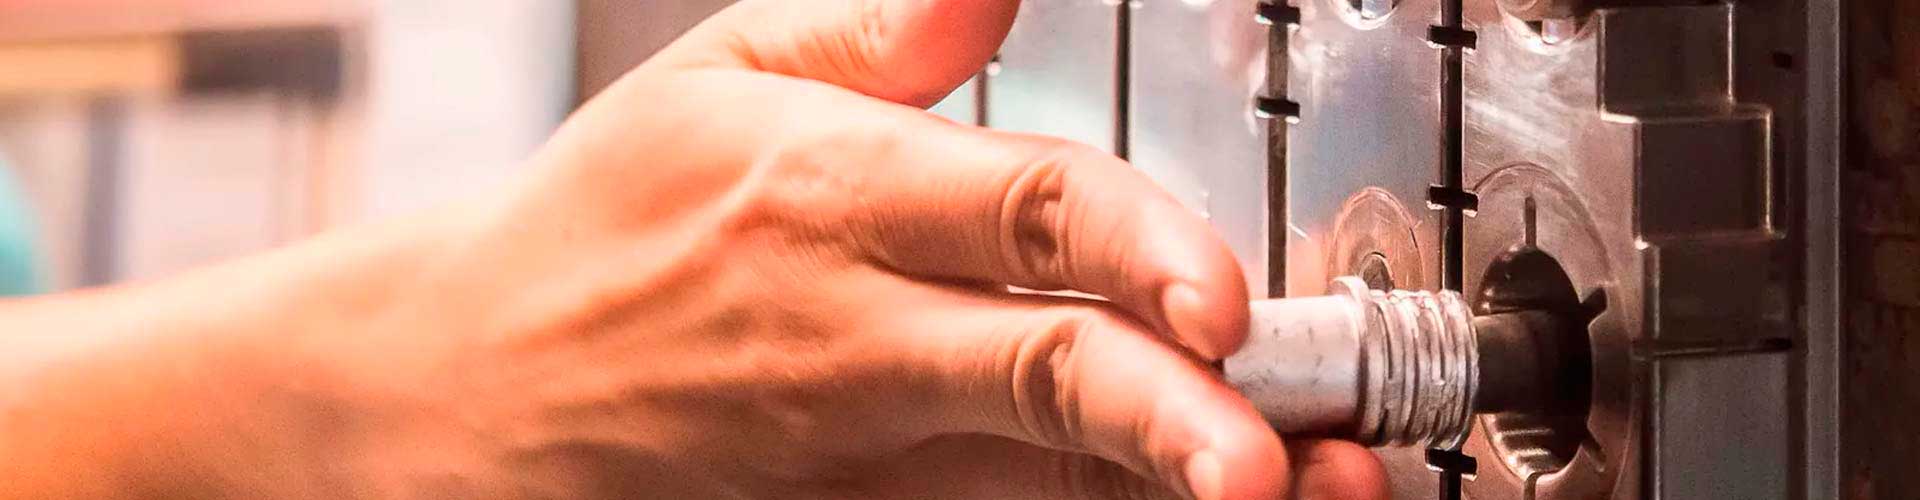
Injection moulding has become a popular manufacturing method for many reasons. It has proved particularly valuable in consumer product development because plastics are a key component of many consumer products, and injection moulding is one of the best ways to manufacture them.
These are the three main stages of the injection moulding process.
Basic step 1: Product design
Design is one of the most important stages of production, as it is the first opportunity to prevent mistakes that could prove costly later.
The best way to avoid costly mistakes in product design is to plan for uniform wall thickness wherever possible and to transition gradually between thicknesses when changes cannot be avoided. It is also important to avoid stresses in the design, for example at corners with angles of 90 degrees or less.
Product design may have to address many requirements: function, aesthetics, manufacturability, assembly, and more. A successful design achieves its goals satisfactorily and creatively. Products are often designed using computer-aided design (CAD) software.
A qualified team of design engineers will be able to devise, design and refine solutions to meet the specific complexities of a project.
Basic step 2: Mould design
Once a design has been tested, the next step is to make a mould (or die). Moulds are generally made using the following metals:
- Hardened steel: The most expensive material for a mould, but also the most durable. Hardened steel is a good choice for products that will be manufactured in several hundred thousand units.
- Pre-hardened steel: It does not last as many cycles as hardened steel but is less expensive to produce.
- Aluminium: Typically used for single-cavity prototype tooling when relatively few parts are needed.
- Beryllium copper alloy: Widely used in mould areas requiring rapid heat removal or where shear heat is concentrated.
As with product design generally, mould design provides another opportunity to prevent defects during production. Here are some examples of how poor mould design can be costly:
- Insufficient draft angle: This is the angle that allows the finished product to be released from the mould. Insufficient draft can cause ejection problems that cost considerable time and money.
- Poorly positioned or incorrectly sized gates: Gates are the openings in a mould through which thermosetting or thermoplastic material is injected. Each leaves a mark (gate vestige) that can cause aesthetic or functional problems if placed incorrectly.
- The required number of parts (cycles), together with the material they will be made from, helps determine how and from what materials the mould should be produced.
Basic step 3: Manufacturing
Once a product has been properly designed, tested and approved, it is time to begin actual manufacturing.
These are the fundamentals of injection moulding...
Thermosetting or thermoplastic material in granular form is fed through a hopper into a heated barrel. The plastic is heated to a predetermined temperature and driven by a large screw through the gate or gates into the mould. Once the mould is filled, the screw remains in position to apply the appropriate pressure for a predetermined cooling period. The screw then retracts, the mould opens and the part is ejected. Gates are trimmed automatically or removed manually. This cycle repeats and can be used to manufacture hundreds of thousands of parts in a relatively short time.